Introduction
There’s something truly magical about baking your own bread, and nothing compares to the satisfaction of crafting an artisan Italian bread recipe from scratch. With its golden crust, tender crumb, and deep, authentic flavor, this rustic bread is a must-try for bread lovers. The best part? It’s surprisingly easy to prepare, even if you’re new to baking.
Homemade bread isn’t just about taste—it’s about the experience. From the fragrant aroma that fills your kitchen to the rewarding first bite, each step brings joy. And unlike store-bought loaves, this recipe allows you to control every ingredient, ensuring the freshest and most wholesome results.
If you’ve been hesitant to try your hand at artisan bread, this is your moment. With simple ingredients, clear steps, and just a bit of patience, you’ll create a masterpiece worthy of any Italian bakery. Let’s dive into the art of crafting artisan Italian bread—because once you’ve made it, you’ll never look back.
What Makes Artisan Italian Bread Special?
Authentic Italian Flavors: Olive Oil, Flour, and the Rustic Crust
The beauty of an artisan Italian bread recipe lies in its simplicity. Every ingredient plays a vital role in creating a loaf with authentic flavors that reflect the traditions of Italian baking. High-quality bread flour forms the base, providing the structure and strength needed for the perfect crumb. A dash of olive oil not only adds richness but also enhances the bread’s softness and moisture, making every slice irresistible.
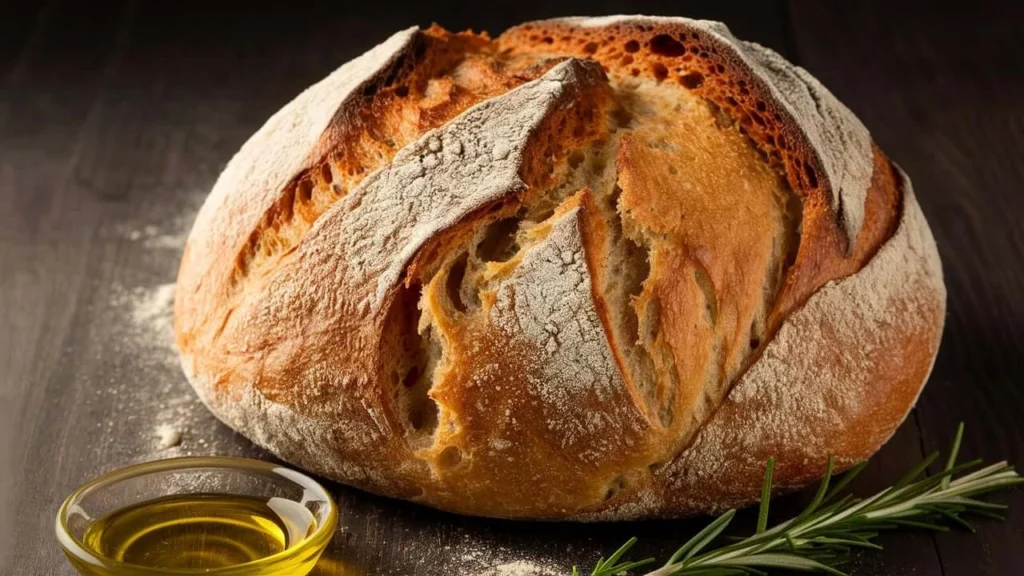
Salt and water bring balance, allowing the natural flavors of the bread to shine. It’s not just about taste—it’s about evoking a sense of Italy with every bite. The rustic crust is the crowning glory, golden and slightly crisp, contrasting beautifully with the tender interior.
Artisan Techniques: Slow Fermentation and Shaping
One of the hallmarks of an artisan Italian bread recipe is the use of slow fermentation. This technique develops deeper, more complex flavors as the yeast works its magic over several hours. Patience is key here, as the gradual rise allows the dough to build character, resulting in a loaf that tastes as good as it looks.
Shaping the dough is another important step. You don’t just throw it in a pan; you carefully stretch and fold it to create the desired structure. Whether you’re crafting a classic round loaf or a rustic oblong shape, this process gives the bread its signature artisanal look.
Rustic Texture and Crust: Achieving the Perfect Balance
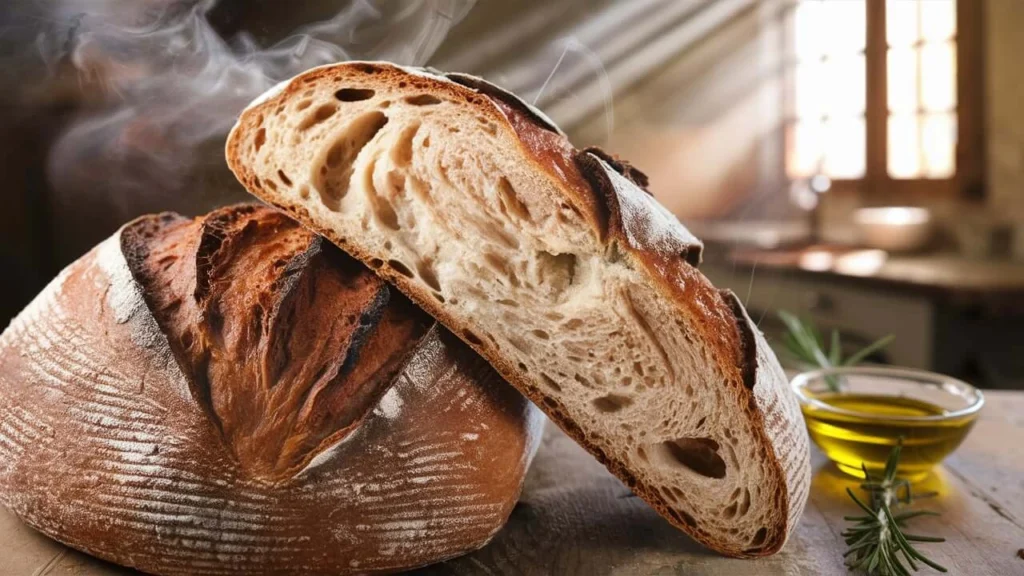
The texture of artisan Italian bread strikes a delicate balance between airy and chewy. The dough’s slow fermentation creates pockets of air throughout, giving the bread its characteristic open crumb. Each bite offers a perfect harmony of textures, from the tender interior to the crunchy crust.
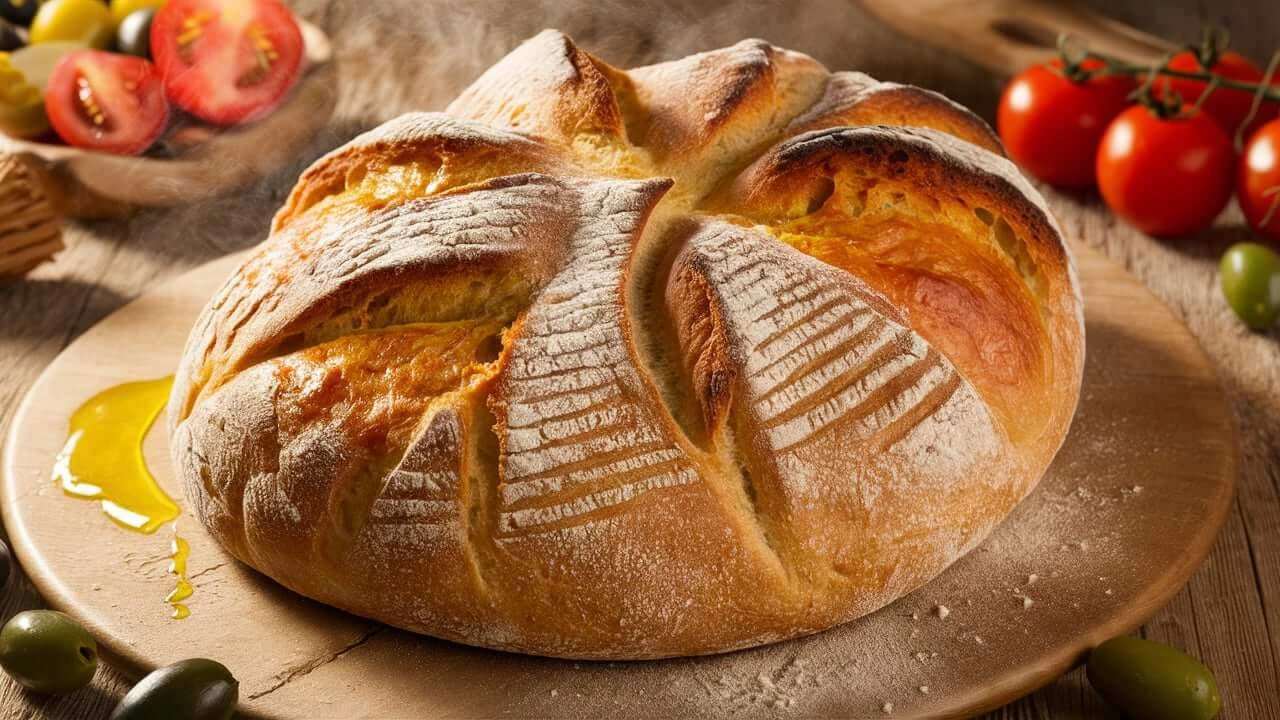
Achieving the right crust requires attention to detail. Baking in a hot oven with added steam helps create a crispy exterior while keeping the inside moist. This process not only enhances the texture but also gives the bread its signature golden-brown color and rustic appeal.
These elements come together to make artisan Italian bread more than just a loaf—it’s a celebration of tradition, flavor, and craftsmanship. Each bite takes you closer to the heart of Italian cuisine, making this bread a must-have in your baking repertoire.

Essential Ingredients and Tools for Artisan Italian Bread
The ingredients you will need to make Artisan Italian Bread
The foundation of any great artisan Italian bread recipe is its carefully chosen ingredients. Using the right components ensures that your bread has the authentic flavor and texture that makes it truly special.
| Ingredient | Purpose |
| Bread Flour | High protein content creates structure and strength. |
| Active Yeast | Enables the dough to rise and develop air pockets. |
| Olive Oil | Adds richness and enhances softness in the bread. |
| Salt | Balances flavors and improves the dough’s elasticity. |
| Water | Combines ingredients and activates the yeast. |
Each ingredient serves a unique purpose. For example, bread flour provides the high protein content needed to form the chewy, open crumb that’s characteristic of artisan bread. Meanwhile, olive oil adds depth of flavor and ensures the loaf retains moisture. Salt enhances the dough’s elasticity and flavor balance, while water is essential for mixing and yeast activation.
Tools for Success: Mixing Bowls, Bench Scraper, and Dutch Oven
To create an exceptional artisan Italian bread recipe, you’ll need the right tools. These essentials make the process easier, more efficient, and ensure professional-quality results.
- Mixing Bowls: Opt for large, sturdy bowls to mix and proof your dough. Their size allows the dough to expand fully during fermentation.
- Bench Scraper: A versatile tool for shaping dough, dividing portions, and cleaning your work surface. It’s a baker’s best friend.
- Dutch Oven: This heavy, lidded pot helps retain heat and steam, creating a bakery-style crust in your home oven.
While these tools are not overly complex, they play a critical role in achieving the best possible outcome. The Dutch oven, in particular, is a game-changer, helping you mimic the steaming process used in professional bread ovens.
Optional Additions: Herbs, Garlic, or Cheese for Flavor Variations
While a classic artisan Italian bread recipe is delicious on its own, adding optional ingredients can elevate your loaf to new heights.
- Herbs: Incorporate fresh rosemary, thyme, or basil into the dough for an aromatic twist.
- Garlic: Add roasted garlic cloves for a subtle sweetness and bold flavor.
- Cheese: Fold in shredded Parmesan or Asiago for a rich, savory touch.
These additions not only enhance the flavor but also allow you to customize your bread to suit any meal. Whether you’re serving it alongside pasta, soup, or salad, these variations bring versatility to your baking repertoire.
Having the right ingredients and tools ensures that your artisan Italian bread recipe is set up for success. With these essentials in hand, you’ll be able to create a loaf that’s bursting with flavor and perfectly textured.
Step-by-Step Artisan Italian Bread Recipe
Mixing the Dough: How to Combine Ingredients for a Perfect Start
The foundation of any great artisan Italian bread recipe begins with the dough. To achieve the right consistency and flavor, precise measurements and proper mixing techniques are crucial.
| Ingredient | Quantity |
| Bread Flour | 3 ½ cups |
| Active Yeast | 2 ¼ tsp |
| Salt | 2 tsp |
| Warm Water | 1 ½ cups |
| Olive Oil | 2 tbsp |
- Combine Ingredients: In a large mixing bowl, whisk together the bread flour, salt, and yeast. Slowly add warm water and olive oil, stirring with a wooden spoon or your hands.
- Create the Dough: Mix until the ingredients form a shaggy dough. Transfer the mixture to a floured surface, and knead for about 8-10 minutes until smooth and elastic.
- Let It Rest: Place the dough in a lightly oiled bowl, cover it with a damp towel, and let it rest for 20-30 minutes. This step ensures the dough begins to hydrate properly.
By taking your time with this stage, you lay the groundwork for a loaf that is both tender and flavorful.
Fermentation Process: The Importance of Proofing and Timing
Fermentation is where your artisan Italian bread recipe comes to life. This stage enhances the flavor and texture of the bread.
- First Proofing: After mixing, let the dough proof for 1-2 hours in a warm, draft-free spot. Cover the bowl tightly with plastic wrap or a damp towel. The dough should double in size.
- Punch Down and Fold: Gently punch down the dough to release excess air. Then, fold it a few times to strengthen its structure.
- Second Proofing: Transfer the dough to a floured surface or proofing basket. Let it rise again for 30-45 minutes. This step helps create the characteristic open crumb and chewy texture.
Timing is everything here. If you rush, the bread may lack flavor. If you proof too long, the structure might weaken. Keep an eye on the dough’s growth rather than sticking rigidly to the clock.
Shaping and Baking: Techniques for Rustic Loaves and Using a Baking Stone
The final steps of your artisan Italian bread recipe involve shaping and baking. This is where the rustic appearance and signature crust come together.
- Shape the Dough: Transfer the proofed dough to a floured surface. Using your hands, shape it into a round boule or an oval loaf. Avoid overworking the dough, as this can knock out air bubbles.
- Prepare for Baking: Preheat your oven to 475°F (245°C). Place a baking stone or a Dutch oven inside to heat for 30 minutes. The hot surface helps create the crispy crust.
- Score the Bread: Use a sharp knife or bread lame to make shallow cuts on the surface of the dough. This allows the bread to expand evenly while baking.
- Bake to Perfection: Carefully place the dough on the hot baking stone or inside the Dutch oven. Add steam by placing a tray of water in the oven. Bake for 25-30 minutes until the crust is golden brown and crisp.
Once the bread is out of the oven, let it cool on a wire rack for at least 30 minutes. This step ensures the interior sets properly and enhances the flavor.
Final Thoughts
By mastering these steps, you’ll transform simple ingredients into a masterpiece. Whether you’re a beginner or an experienced baker, this method for artisan Italian bread is foolproof and rewarding. Give it a try, and savor the magic of homemade bread.

Tips and Tricks for Perfect Artisan Bread Every Time
Handling the Dough: Avoid Over-Kneading and Achieving Elasticity
The way you handle your dough can make or break your artisan Italian bread recipe. Achieving the perfect texture requires just the right amount of kneading and attention to elasticity.
- Don’t Over-Knead: While kneading is essential to develop gluten, overdoing it can make the dough too tight. Stop once the dough becomes smooth and elastic. A good test is the “windowpane test.” Stretch a small piece of dough; if it doesn’t tear and forms a thin, translucent sheet, it’s ready.
- Work Gently After Proofing: Once the dough has proofed, handle it with care. Avoid excessive pressure to preserve the air bubbles that create a light, airy crumb.
- Use a Bench Scraper: This tool helps you fold and stretch the dough without tearing it, making shaping easier and less messy.
By focusing on gentle handling and stopping at the right moment, you’ll ensure a dough that’s easy to shape and bakes beautifully.
Getting the Perfect Crust: Steam Baking and Temperature Control
A hallmark of any great artisan Italian bread recipe is its golden, crispy crust. Achieving this requires a combination of proper steaming and precise temperature control.
- Create Steam: Steam helps the dough expand during the first few minutes of baking, resulting in a glossy, crackling crust. Place a pan of hot water in the oven, or use a spray bottle to mist the oven walls before baking.
- Preheat Your Baking Surface: Whether you use a Dutch oven, baking stone, or steel, preheating it for at least 30 minutes at 475°F (245°C) ensures a quick, even rise.
- Control the Temperature: Start at a high temperature and reduce it slightly halfway through baking to avoid over-browning while allowing the interior to bake fully.
- Cool the Loaf Properly: After baking, let the bread cool on a wire rack. This step allows moisture to escape, preventing a soggy crust.
The right baking environment guarantees that your bread is not only delicious but also visually stunning.
Common Mistakes to Avoid: Troubleshooting for Flat or Dense Loaves
Even the most experienced bakers encounter challenges. If your artisan Italian bread doesn’t turn out as expected, these troubleshooting tips can help.
- Flat Loaves: This often happens if the dough is over-proofed. Keep an eye on the dough during proofing, and perform a finger-poke test—if the indentation springs back slightly, it’s ready.
- Dense Crumb: This can result from insufficient kneading or failing to allow enough fermentation time. Ensure proper gluten development and don’t rush the proofing process.
- Burnt or Pale Crust: A burnt crust indicates the oven is too hot, while a pale crust suggests a lack of steam or insufficient baking time. Adjust the temperature or use more steam.
- Sticky Dough: If your dough feels too wet to handle, don’t add excessive flour. Use a bench scraper and dust your hands with flour sparingly to maintain the right hydration level.
Learning from these common mistakes ensures you’ll improve with every bake, turning potential failures into delicious successes.
Final Thoughts
Perfecting your artisan Italian bread recipe takes practice, but with these tips and tricks, you’re well-equipped to create bakery-quality bread at home. From mastering dough handling to troubleshooting issues, each step builds your confidence as a baker. Remember, even small adjustments can make a big difference, so don’t be afraid to experiment and enjoy the process.
Serving and Storing Artisan Italian Bread
Serving Suggestions: Pairing with Olive Oil Dips, Soups, and Pasta
Your freshly baked artisan Italian bread deserves to shine as part of a meal. Its rich flavor and hearty texture make it a versatile addition to various dishes.
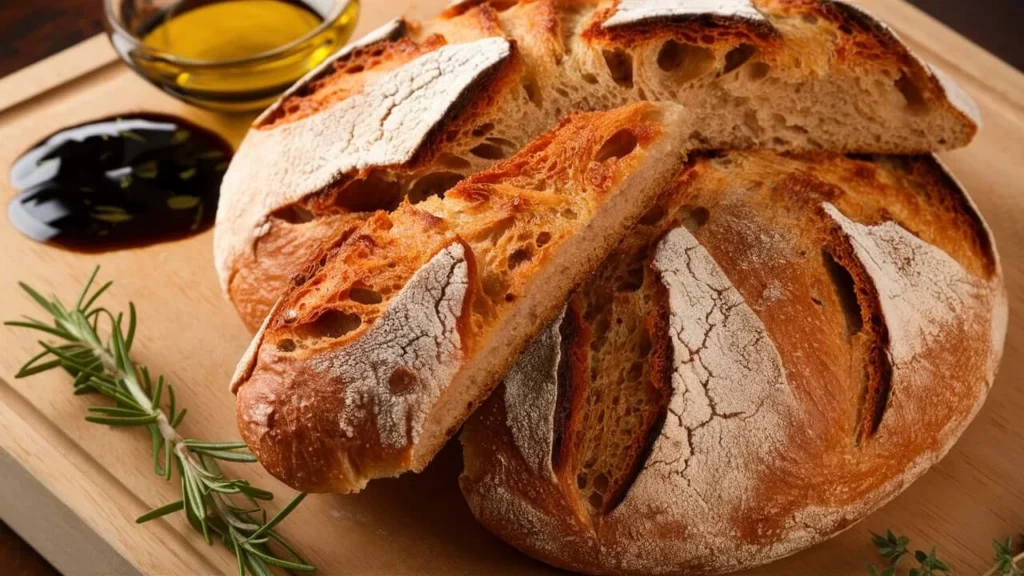
- Classic Olive Oil Dip: Serve slices of bread with a small dish of extra virgin olive oil, seasoned with fresh herbs, garlic, or balsamic vinegar. The simplicity of this pairing highlights the bread’s rustic taste.
- Perfect for Soups: Dip it into hearty tomato soup, creamy potato soup, or Chicken Tortilla Soup. The bread’s crust holds up well, soaking up just enough broth without becoming soggy.
- Complement to Pasta Dishes: Use it to mop up the sauce from dishes like spaghetti Bolognese, Alfredo, or pesto pasta. Its chewy crumb balances the richness of these meals.
- Charcuterie and Cheese Boards: Slice it thin and serve it alongside cured meats, cheeses, and fresh fruits for an appetizer that’s sure to impress.
With these serving ideas, your artisan Italian bread becomes the star of any table.
How to Store Bread: Keeping It Fresh for Longer
Maintaining the freshness of your artisan Italian bread is key to enjoying it beyond the day it’s baked. Proper storage techniques prevent it from drying out or becoming stale.
- Use a Bread Box: A bread box keeps your loaf at the right humidity, extending its freshness without softening the crust too much.
- Wrap Loosely: If you don’t have a bread box, wrap the loaf in parchment paper or a clean kitchen towel. Avoid plastic wrap, as it traps moisture and softens the crust.
- Store at Room Temperature: Keep the bread in a cool, dry place. Avoid refrigerating it, as the cold environment accelerates staling.
- Recrisp the Crust: If the crust loses its crispness, pop the loaf into a preheated 375°F (190°C) oven for 5-7 minutes. This will restore its texture.
By following these tips, you’ll enjoy your bread at its best for up to three days.
Freezing Tips: Save Extras for Later Without Losing Quality
If you’ve baked more artisan Italian bread than you can finish, freezing is an excellent way to preserve its freshness and flavor.
- Freeze Immediately: To lock in the freshness, freeze the bread as soon as it cools to room temperature.
- Slice Before Freezing: Slice the loaf beforehand so you can easily grab the number of slices you need. This is especially useful for quick meals or snacks.
- Wrap Properly: Wrap the loaf or slices tightly in aluminum foil or plastic wrap. Then, place them in a resealable freezer bag to prevent freezer burn.
- Reheat to Enjoy: To reheat frozen bread, thaw it at room temperature for an hour. Then, bake it in a 350°F (175°C) oven for 10-12 minutes to bring back its freshly baked texture.
With these steps, you can enjoy your artisan Italian bread weeks after baking, without any loss of quality.
Final Thoughts
Serving and storing your artisan Italian bread correctly ensures that every slice tastes just as good as the day it was baked. Whether you’re pairing it with your favorite dishes or freezing extras for later, these methods enhance your baking efforts and reduce waste. Give these tips a try, and let your bread truly shine in every meal.

Conclusion
Baking your own artisan Italian bread is a rewarding experience that combines simplicity with the joy of homemade flavor. With just a handful of ingredients and a few straightforward steps, you can create a loaf that rivals bakery-quality bread. Its rustic texture, golden crust, and authentic Italian taste make it the perfect addition to any meal.
We encourage you to try this recipe in your own kitchen and experience the satisfaction of baking from scratch. Once you’ve mastered the technique, feel free to get creative by adding herbs, garlic, or cheese to make it uniquely yours.
Have you baked this artisan Italian bread? Share your thoughts, tips, or even photos in the comments below. We’d love to hear about your baking journey! For more inspiration, explore our related recipes, including flavorful olive oil dips and comforting soups that pair perfectly with this bread.
So, roll up your sleeves, grab your ingredients, and start baking today! Your kitchen will soon be filled with the irresistible aroma of fresh artisan bread, ready to impress and delight.


3 thoughts on “Artisan Italian Bread Recipe: Authentic Flavor, Made Easy”